
The marketing tools are created by a natural health Public Relations & Digital agency that has worked with nutritionists for over 30 years. The content is written/checked by experienced nutritionists, which is then personalised by the platform through AI to your website style. All content is then your copyright and editable, with new material uploaded daily.
Create your own customised newsletter with customer based content personalised to your business

Keep up to date with your social media posts with this easy to use template to create customer grabbing personalised social media content
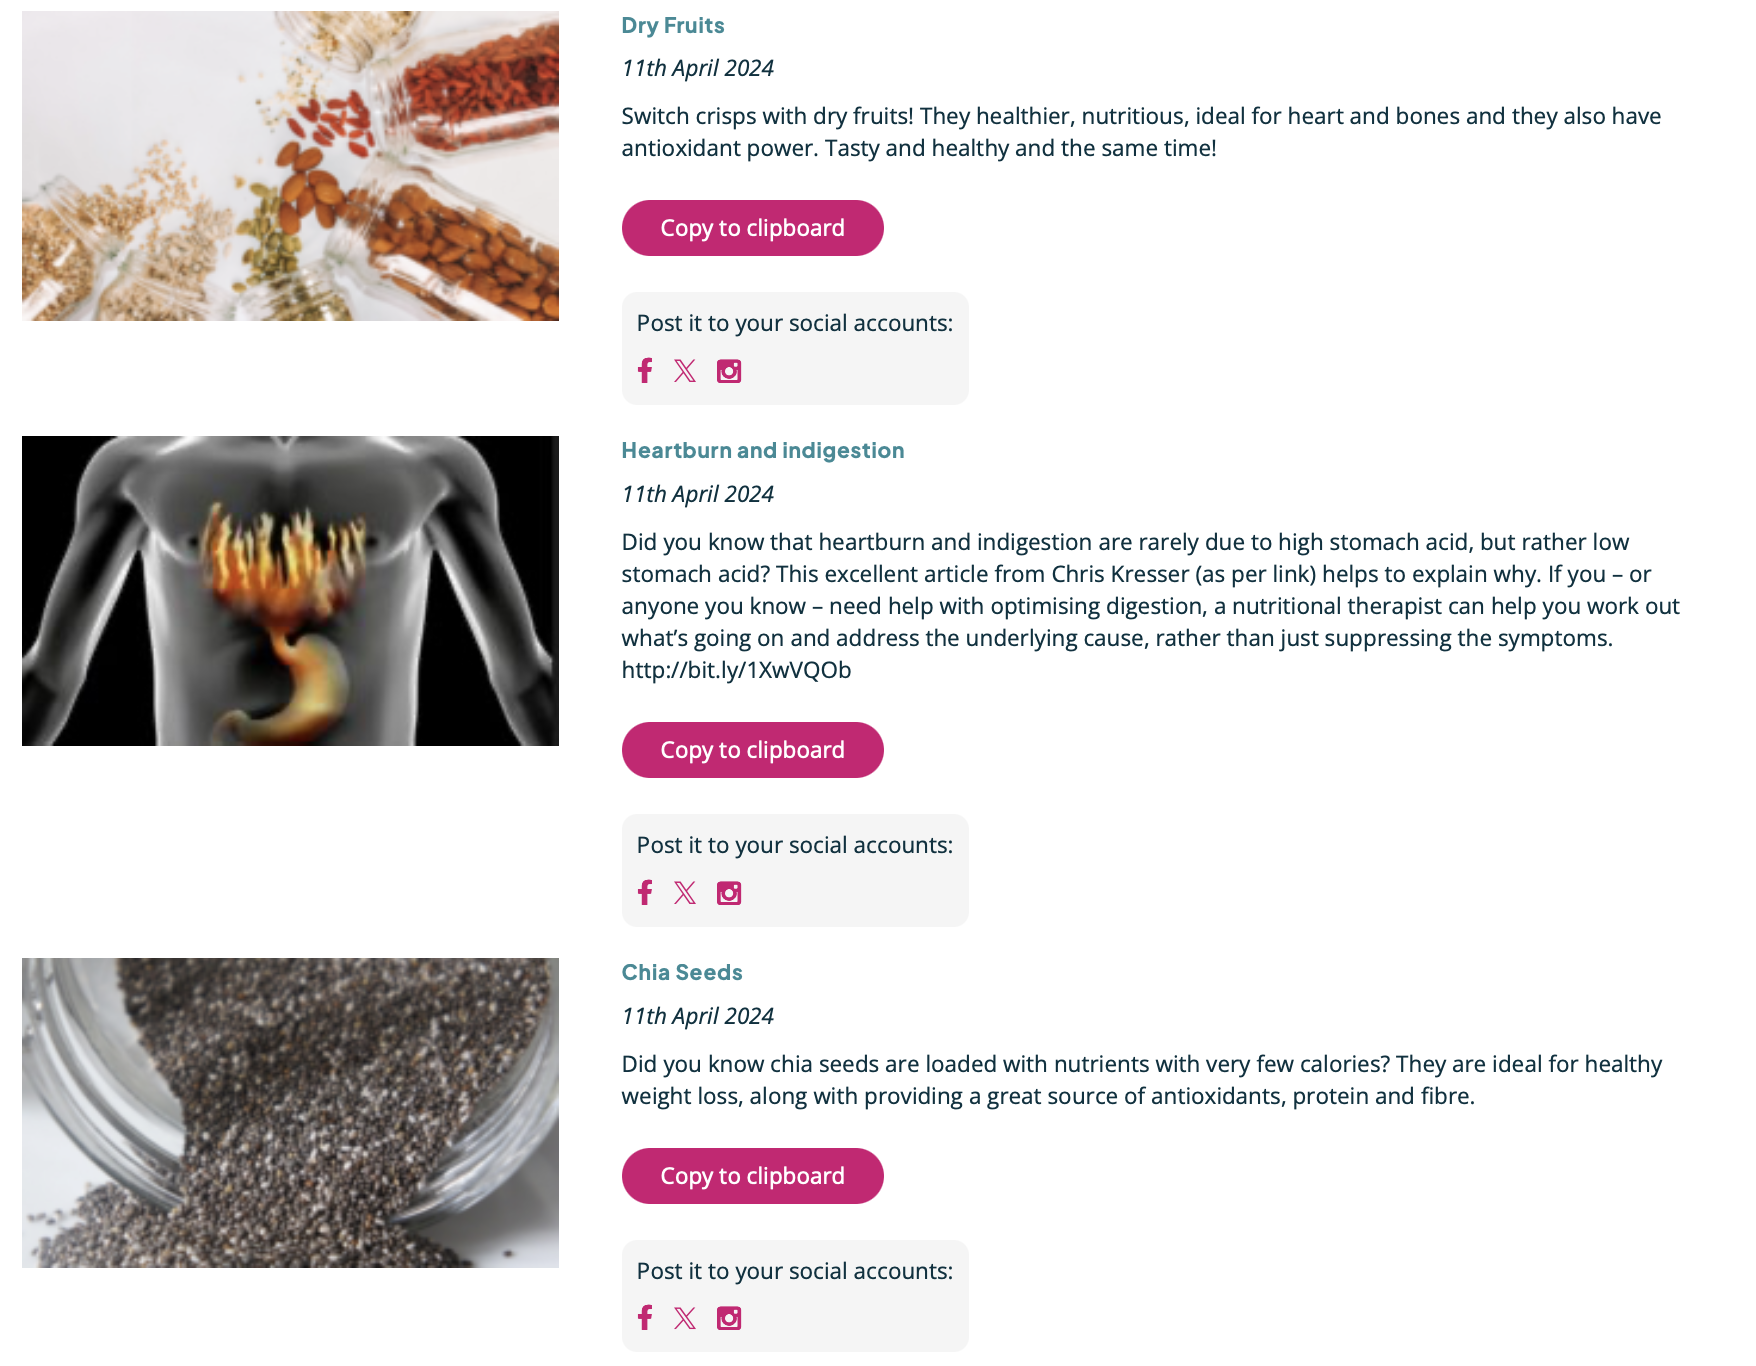
Create your own company specific blog posts which can be categorised and used to create compelling marketing for your business

Use the press release template to alert the media about exciting plans and announcements for your business
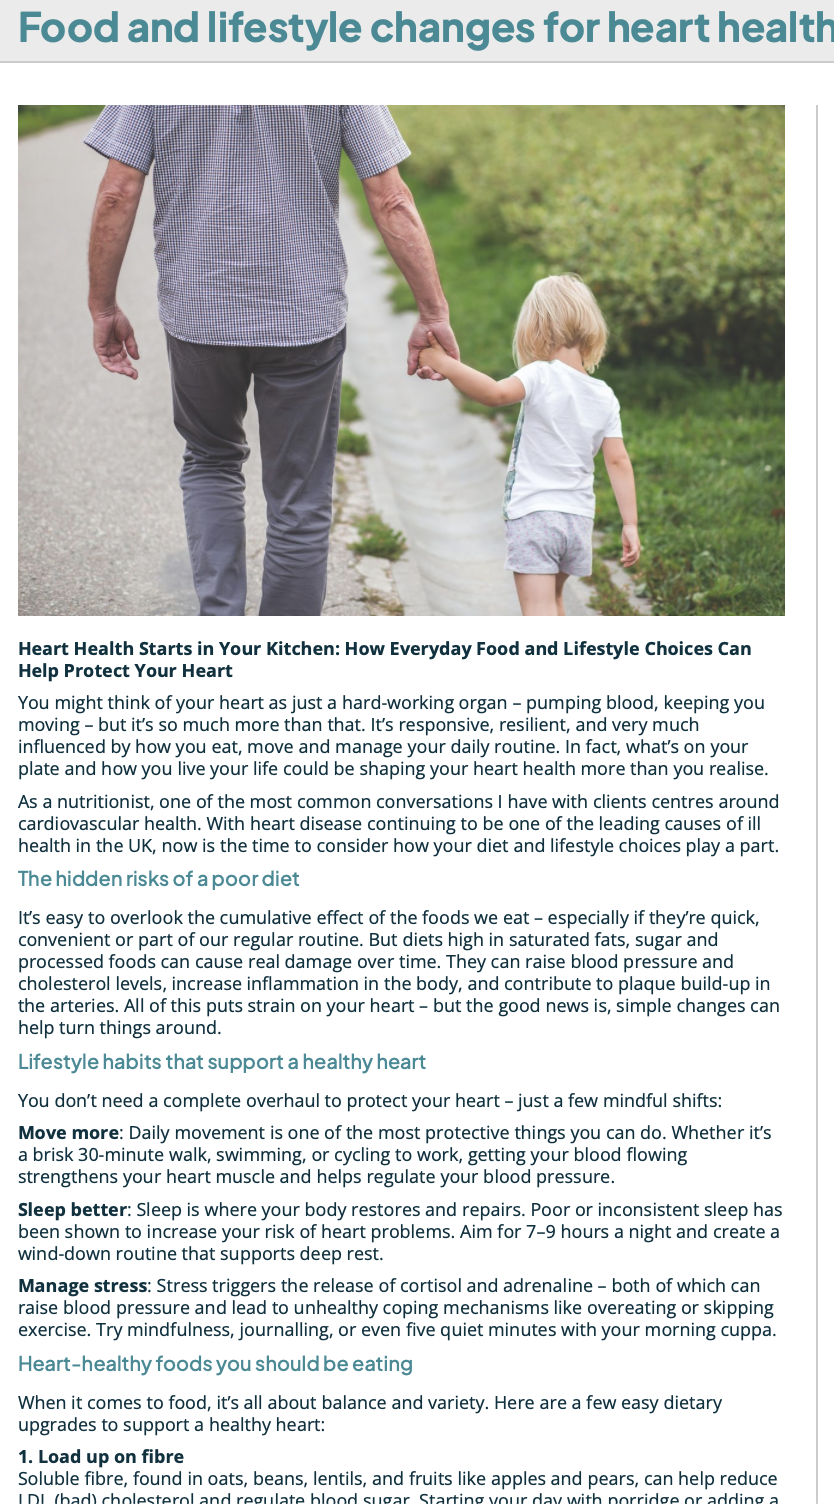
In addition you will have a full complement of client recommendation tools
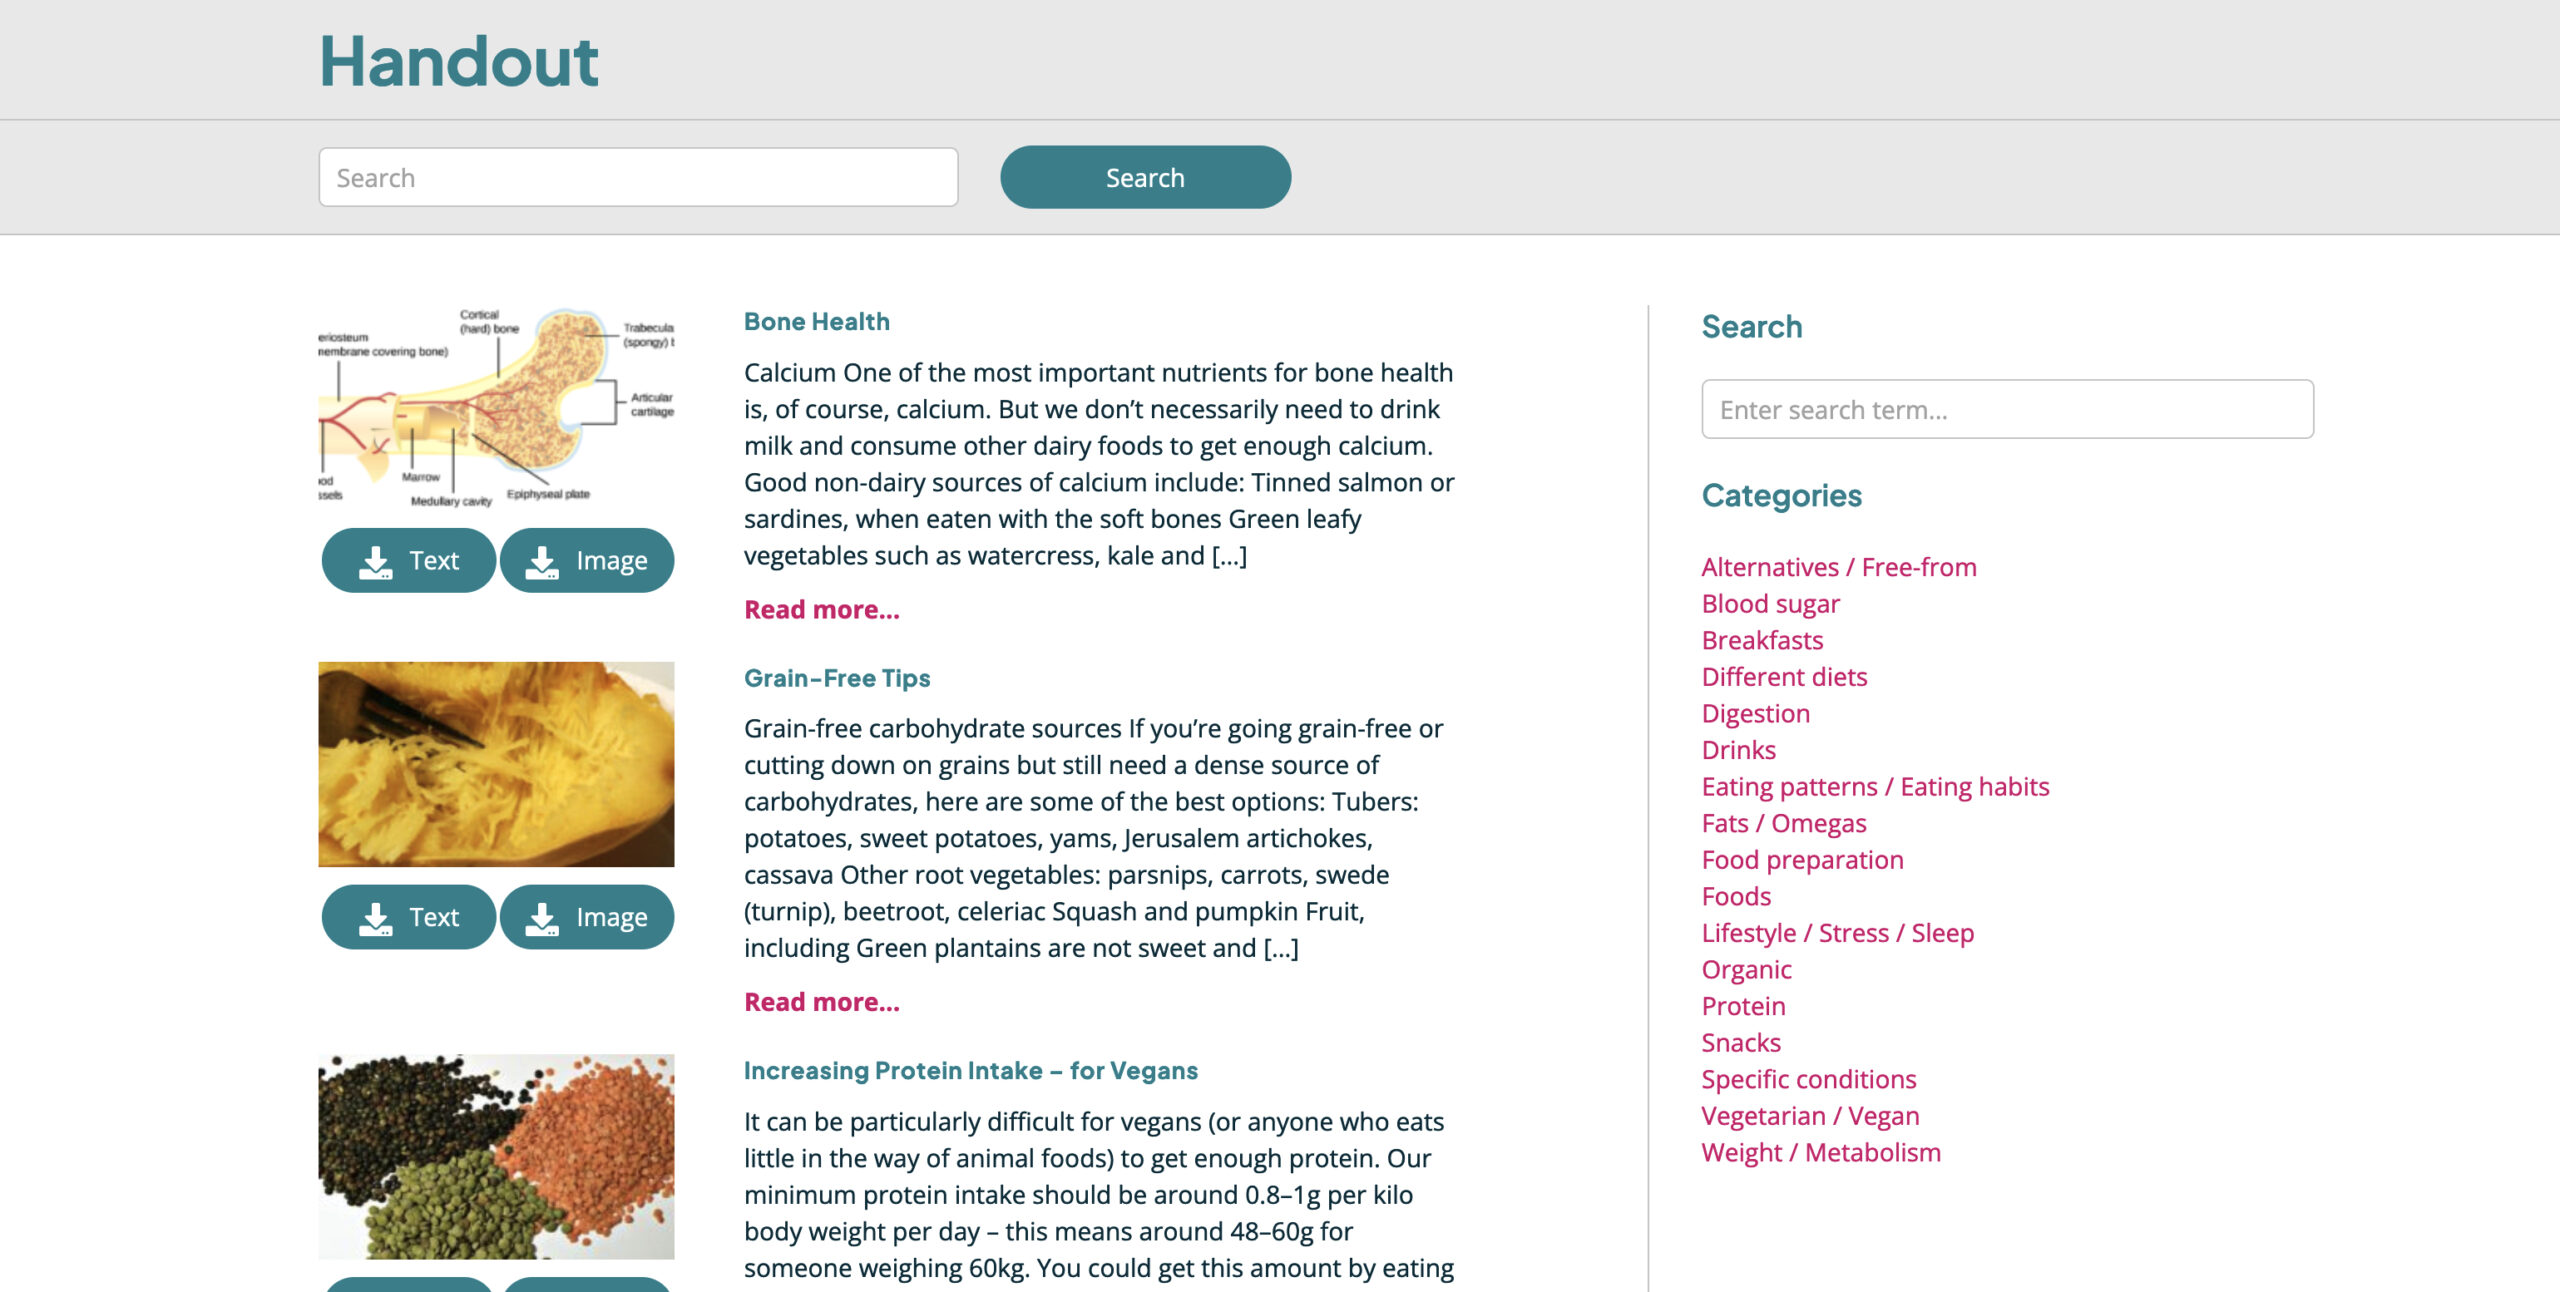
Create informative handouts including eye catching images to inspire and impress your clients

1. Filter by category or word search to find the right handout for your client
2. Download
Creating a new report 1. Hover over the ‘Client Reports’ menu heading and select ‘New Report’. (You can also get to this page by clicking the green ‘New Report’ button from the reports archive page).
2. Insert your a reference number for your client in the box provided. This is optional and it will generate a random reference number if you leave it blank. There is also a box to record the client’s initials (for easy identification) at the top of the page. This, again, is optional.
3. Goals: Select the goal category from the first drop-down box (note: select ‘Other’ if you’re writing your own goal and it doesn’t fit in any of the existing categories. In the second drop-down you can choose one of the pre-written goals or select ‘Type a new one…’ to create your own. If you choose ‘Type your own…’ then type the goal in the box that opens up below the drop-downs. When you click ‘Submit and save’, the goal you’ve written will be saved for next time in the drop-down list. It’s also transferred to the box on the right, which is what will appear on the client report. You can then edit this text as you wish (whether you’ve chosen a pre-written goal or created your own).
4. Food plan: The same process applies here. Select your category in the first drop-down. Select your food plan recommendation in the second drop-down, or ‘Type a new one…’. You can then save the new one, and/or edit this or any pre-written food plan recommendations as you transfer them to the box on the right. You can add as many food plan recommendations as you wish, and edit them if desired.
5. Lifestyle recommendations: Again, the same process applies.
6. If you wish, then add your personalised Marketing Paragraph by clicking on the tick box and this will appear at the end of your report. The advantage of doing this is that you effectively create salespeople out of your clients. Your logo and contact details will automatically appear at the top of your report. (To create/edit your Marketing Paragraph, your logo or address, click on your name (top right of the screen) and drop down to My Account.)
7. When you are happy with the content click ‘Save’ to save that individual report. You can also ‘Save as template’ if you want to use this report again as a basis for future reports. Downloading/editing a report 1. As you save a report, you’re transferred to the Client Reports archive page, which is just a list of the existing reports that you’ve created. No one else sees or has access to your reports. (If you want to download or edit a report that you previously created, you can also get to this page by just clicking directly on the Client Reports menu item at the top of the page, or hovering over the Client Reports menu item and clicking ‘Archive’.) 2. When you click Download, a pdf file will appear on screen, and/or will be saved to your Downloads folder. You can then save the pdf to your desktop, or to the folder of your choice on your computer. 3. You will see on this page that you can also ‘Edit’ or ‘Delete’ existing reports. Using a template To use a report template that you’ve previously created, go to ‘Templates’ by hovering over the Client Reports menu item at the top of the page, and selecting ‘Templates’.
Keep your clients engaged with creative and tasty recipe ideas targeted to their nutritional needs

Use this section to create personalised recipe suggestions for your clients
Here you can build a list of recipes personalised for you clients. The ones that you compile will be kept for you for future use.
Marketing Paragraph, logo and address edits
To create/edit your clinic Marketing Paragraph, your logo or address, click on your name (top right) and go to ‘My Account‘
MyNutrition.Marketing Bespoke Services
If you would like to hear about our bespoke services, where we can post to your social media feeds, upload your blogs, create newsletters and send out press releases to your local media on your behalf, please email us at: [email protected]

Creating a new report 1. Hover over the ‘Client Reports’ menu heading and select ‘New Report’. (You can also get to this page by clicking the green ‘New Report’ button from the reports archive page).
2. Insert your a reference number for your client in the box provided. This is optional and it will generate a random reference number if you leave it blank. There is also a box to record the client’s initials (for easy identification) at the top of the page. This, again, is optional.
3. Goals: Select the goal category from the first drop-down box (note: select ‘Other’ if you’re writing your own goal and it doesn’t fit in any of the existing categories. In the second drop-down you can choose one of the pre-written goals or select ‘Type a new one…’ to create your own. If you choose ‘Type your own…’ then type the goal in the box that opens up below the drop-downs. When you click ‘Submit and save’, the goal you’ve written will be saved for next time in the drop-down list. It’s also transferred to the box on the right, which is what will appear on the client report. You can then edit this text as you wish (whether you’ve chosen a pre-written goal or created your own).
4. Food plan: The same process applies here. Select your category in the first drop-down. Select your food plan recommendation in the second drop-down, or ‘Type a new one…’. You can then save the new one, and/or edit this or any pre-written food plan recommendations as you transfer them to the box on the right. You can add as many food plan recommendations as you wish, and edit them if desired.
5. Lifestyle recommendations: Again, the same process applies.
6. If you wish, then add your personalised Marketing Paragraph by clicking on the tick box and this will appear at the end of your report. The advantage of doing this is that you effectively create salespeople out of your clients. Your logo and contact details will automatically appear at the top of your report. (To create/edit your Marketing Paragraph, your logo or address, click on your name (top right of the screen) and drop down to My Account.)
7. When you are happy with the content click ‘Save’ to save that individual report. You can also ‘Save as template’ if you want to use this report again as a basis for future reports. Downloading/editing a report 1. As you save a report, you’re transferred to the Client Reports archive page, which is just a list of the existing reports that you’ve created. No one else sees or has access to your reports. (If you want to download or edit a report that you previously created, you can also get to this page by just clicking directly on the Client Reports menu item at the top of the page, or hovering over the Client Reports menu item and clicking ‘Archive’.) 2. When you click Download, a pdf file will appear on screen, and/or will be saved to your Downloads folder. You can then save the pdf to your desktop, or to the folder of your choice on your computer. 3. You will see on this page that you can also ‘Edit’ or ‘Delete’ existing reports. Using a template To use a report template that you’ve previously created, go to ‘Templates’ by hovering over the Client Reports menu item at the top of the page, and selecting ‘Templates’.
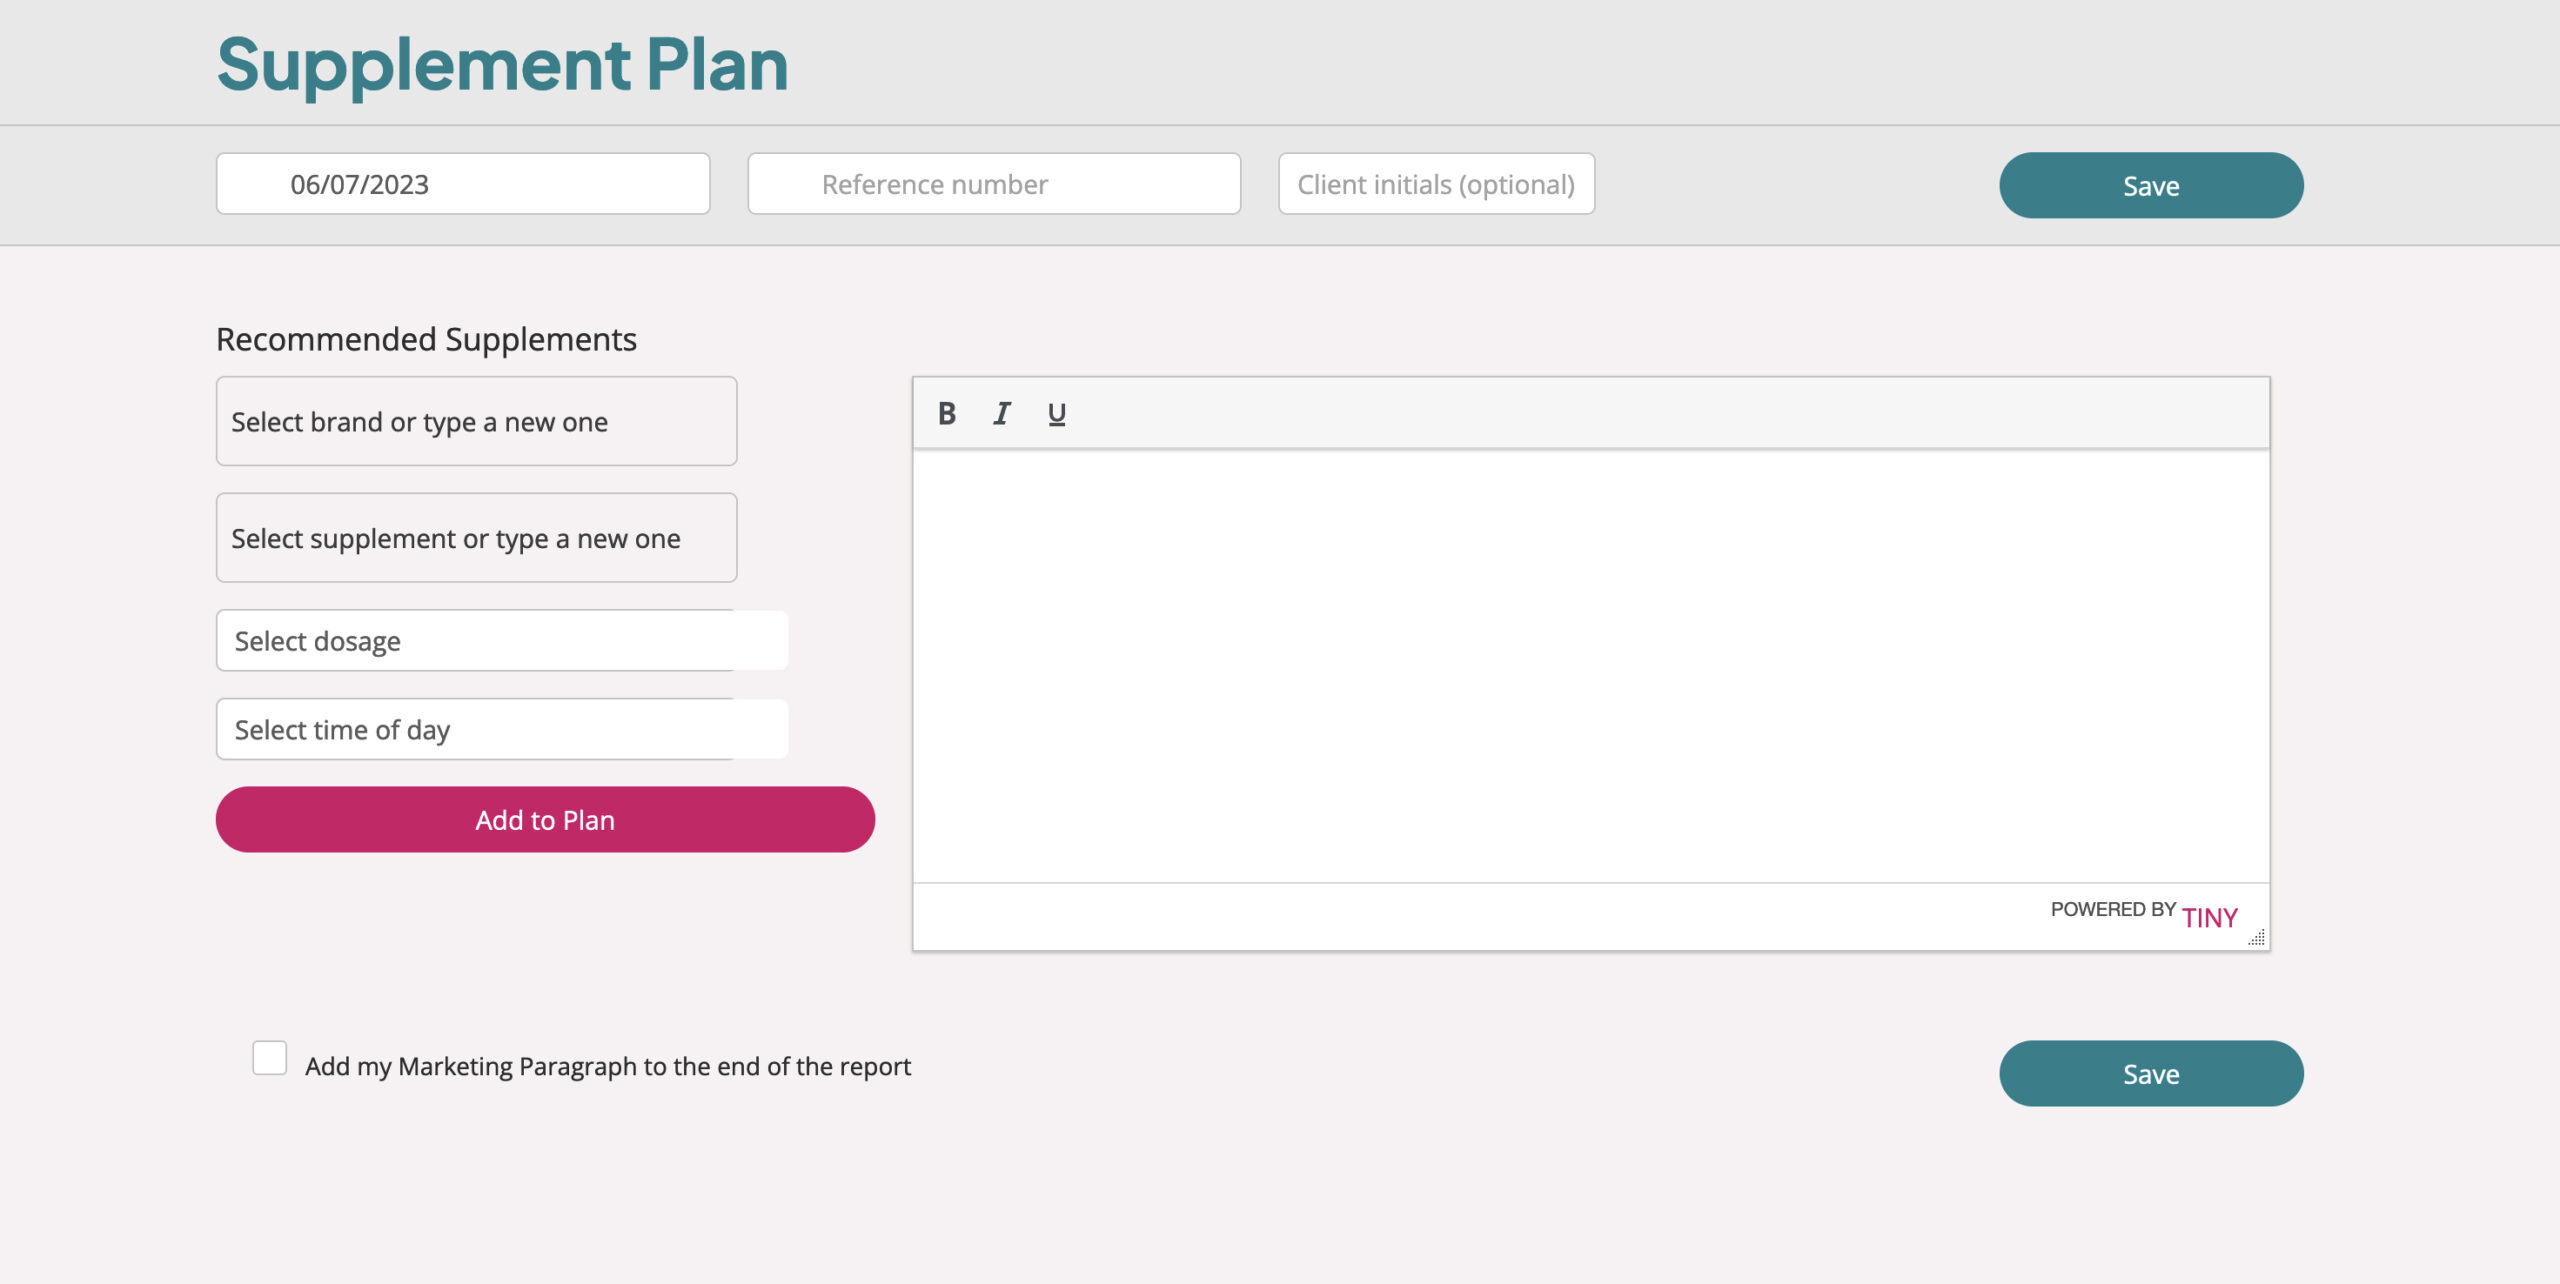
Create bespoke supplement plans for your clients that are personalised to your clients individual health requirements

Use this section to create your own personalised supplement plans for your clients

Here you can build a list of your favourite supplements, which are confidential to you
Marketing Paragraph, logo and address edits
To create/edit your clinic Marketing Paragraph, your logo or address, click on your name (top right) and go to My Account.
MyNutrition.Marketing Bespoke Services
If you would like to hear about our bespoke services, where we can post to your social media feeds, upload your blogs, create newsletters and send out press releases to your local media on your behalf, please email us at: [email protected]
Creating a new report 1. Hover over the ‘Client Reports’ menu heading and select ‘New Report’. (You can also get to this page by clicking the green ‘New Report’ button from the reports archive page).
2. Insert your a reference number for your client in the box provided. This is optional and it will generate a random reference number if you leave it blank. There is also a box to record the client’s initials (for easy identification) at the top of the page. This, again, is optional.
3. Goals: Select the goal category from the first drop-down box (note: select ‘Other’ if you’re writing your own goal and it doesn’t fit in any of the existing categories. In the second drop-down you can choose one of the pre-written goals or select ‘Type a new one…’ to create your own. If you choose ‘Type your own…’ then type the goal in the box that opens up below the drop-downs. When you click ‘Submit and save’, the goal you’ve written will be saved for next time in the drop-down list. It’s also transferred to the box on the right, which is what will appear on the client report. You can then edit this text as you wish (whether you’ve chosen a pre-written goal or created your own).
4. Food plan: The same process applies here. Select your category in the first drop-down. Select your food plan recommendation in the second drop-down, or ‘Type a new one…’. You can then save the new one, and/or edit this or any pre-written food plan recommendations as you transfer them to the box on the right. You can add as many food plan recommendations as you wish, and edit them if desired.
5. Lifestyle recommendations: Again, the same process applies.
6. If you wish, then add your personalised Marketing Paragraph by clicking on the tick box and this will appear at the end of your report. The advantage of doing this is that you effectively create salespeople out of your clients. Your logo and contact details will automatically appear at the top of your report. (To create/edit your Marketing Paragraph, your logo or address, click on your name (top right of the screen) and drop down to My Account.)
7. When you are happy with the content click ‘Save’ to save that individual report. You can also ‘Save as template’ if you want to use this report again as a basis for future reports. Downloading/editing a report 1. As you save a report, you’re transferred to the Client Reports archive page, which is just a list of the existing reports that you’ve created. No one else sees or has access to your reports. (If you want to download or edit a report that you previously created, you can also get to this page by just clicking directly on the Client Reports menu item at the top of the page, or hovering over the Client Reports menu item and clicking ‘Archive’.) 2. When you click Download, a pdf file will appear on screen, and/or will be saved to your Downloads folder. You can then save the pdf to your desktop, or to the folder of your choice on your computer. 3. You will see on this page that you can also ‘Edit’ or ‘Delete’ existing reports. Using a template To use a report template that you’ve previously created, go to ‘Templates’ by hovering over the Client Reports menu item at the top of the page, and selecting ‘Templates’.

Create full client reports listing actions and detailing their individualised nutrition plan

Creating a new client report
My Library
This is a list of all your reports, which can be downloaded for your patients and are all confidential to you.
My Templates
Here you’ll find all the reports that you saved as templates which you can use as the basis for other clients with similar issues.
Marketing Paragraph, logo and address edits
To create/edit your clinic Marketing Paragraph, your logo or address, click on your name (top right) and go to ‘My Account’
MyNutrition.Marketing Bespoke Services
If you would like to hear about our bespoke services, where we can post to your social media feeds, upload your blogs, create newsletters and send out press releases to your local media on your behalf, please email us at: [email protected]

Creating a new report 1. Hover over the ‘Client Reports’ menu heading and select ‘New Report’. (You can also get to this page by clicking the green ‘New Report’ button from the reports archive page).
2. Insert your a reference number for your client in the box provided. This is optional and it will generate a random reference number if you leave it blank. There is also a box to record the client’s initials (for easy identification) at the top of the page. This, again, is optional.
3. Goals: Select the goal category from the first drop-down box (note: select ‘Other’ if you’re writing your own goal and it doesn’t fit in any of the existing categories. In the second drop-down you can choose one of the pre-written goals or select ‘Type a new one…’ to create your own. If you choose ‘Type your own…’ then type the goal in the box that opens up below the drop-downs. When you click ‘Submit and save’, the goal you’ve written will be saved for next time in the drop-down list. It’s also transferred to the box on the right, which is what will appear on the client report. You can then edit this text as you wish (whether you’ve chosen a pre-written goal or created your own).
4. Food plan: The same process applies here. Select your category in the first drop-down. Select your food plan recommendation in the second drop-down, or ‘Type a new one…’. You can then save the new one, and/or edit this or any pre-written food plan recommendations as you transfer them to the box on the right. You can add as many food plan recommendations as you wish, and edit them if desired.
5. Lifestyle recommendations: Again, the same process applies.
6. If you wish, then add your personalised Marketing Paragraph by clicking on the tick box and this will appear at the end of your report. The advantage of doing this is that you effectively create salespeople out of your clients. Your logo and contact details will automatically appear at the top of your report. (To create/edit your Marketing Paragraph, your logo or address, click on your name (top right of the screen) and drop down to My Account.)
7. When you are happy with the content click ‘Save’ to save that individual report. You can also ‘Save as template’ if you want to use this report again as a basis for future reports. Downloading/editing a report 1. As you save a report, you’re transferred to the Client Reports archive page, which is just a list of the existing reports that you’ve created. No one else sees or has access to your reports. (If you want to download or edit a report that you previously created, you can also get to this page by just clicking directly on the Client Reports menu item at the top of the page, or hovering over the Client Reports menu item and clicking ‘Archive’.) 2. When you click Download, a pdf file will appear on screen, and/or will be saved to your Downloads folder. You can then save the pdf to your desktop, or to the folder of your choice on your computer. 3. You will see on this page that you can also ‘Edit’ or ‘Delete’ existing reports. Using a template To use a report template that you’ve previously created, go to ‘Templates’ by hovering over the Client Reports menu item at the top of the page, and selecting ‘Templates’.
One plan for all your marketing & client tools!
Call +44 (0)20 7434 4100 and we’ll talk you through everything!

Yes. We add new social media posts every day and blogs, press releases and newsletter articles weekly. You will also have a library of previous marketing materials to choose from.
Yes – everything is copyright-free, so you can use the text and images wherever you like.
Yes. Your details (including address and logo) can be edited in your ‘My Account’ page (clink on your name). These will appear on all of your downloads.
Yes. For Client Reports, Supplement Plans, Recipes, Newsletters and Press Releases, you can edit the content directly on the site. You can mix-and-match the pre-written content on each page, or type your own copy over it. Blog Posts and Handouts can be downloaded to your computer, and you can edit the material as you wish on this platform or on your computer before you post or send it.
For Client Reports, Supplement Plans, Recipes, Newsletters and Press Releases, you can save the content on the site to edit later, or click on ‘Download’ from the page that shows your saved reports/plans. All you need to do then is either email them straight to your client or print them off.
The first month is only £1 so that you can see if the platform works for you for very little cost. The pound is so that we create a credit card checkout so that the service can continue without you having to do anything else, if you so wish.
Yes. All of the content on this site has been written by copywriters and checked by a qualified nutritional therapist.
Yes. The programme is designed to be simple and intuitive, but if you do need any pointers then each page has a ‘How to use’ section at the top of the page. If you are stuck, you can call us anytime in office hours (020 7434 4100) or email us at [email protected].
Yes. You can cancel at any time, there is no contract. Nothing more will be taken from your card once you cancel. Your subscription will run until the end of the month that you have paid for. You can also keep all the content that you have downloaded and use as you wish. If there is any content that you have created that you haven’t downloaded, then we can send you these from our back-up files.
